

SmartDeploy makes deploying Office 365 to your endpoints easy by streamlining the process for obtaining the Office Deployment Tool and creating the Configuration XML required for an unattended installation.
You can watch this video on our YouTube Channel to learn more, or see the step-by-step instructions below.
In order to deploy Office 365 using an Application Pack, your SmartDeploy console and clients should be using version 3.0.1065 or newer.
Create an Office 365 Application Pack
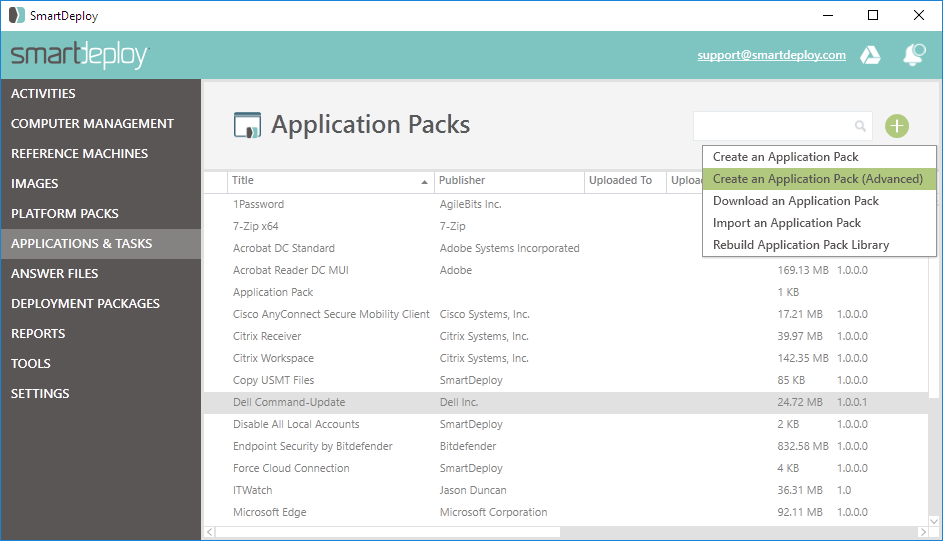
- Open the SmartDeploy Console, and switch to the Applications & Tasks workspace.
- Click the green plus (+) icon, and then click Create an Application Pack (Advanced).
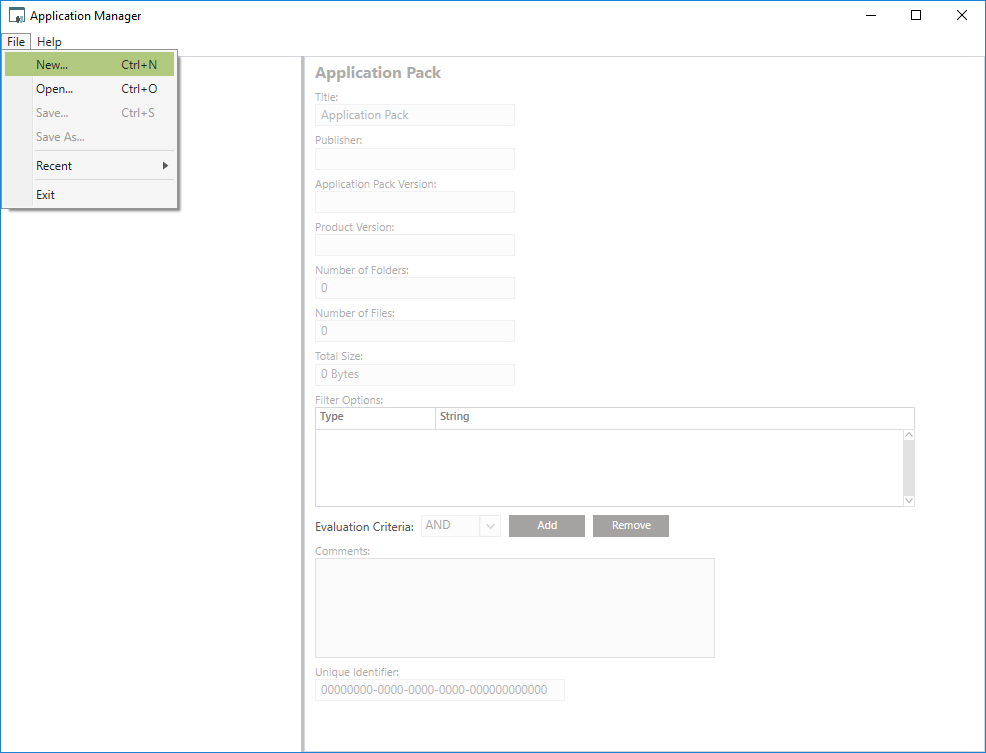
- In the Application Manager window, click File > New.
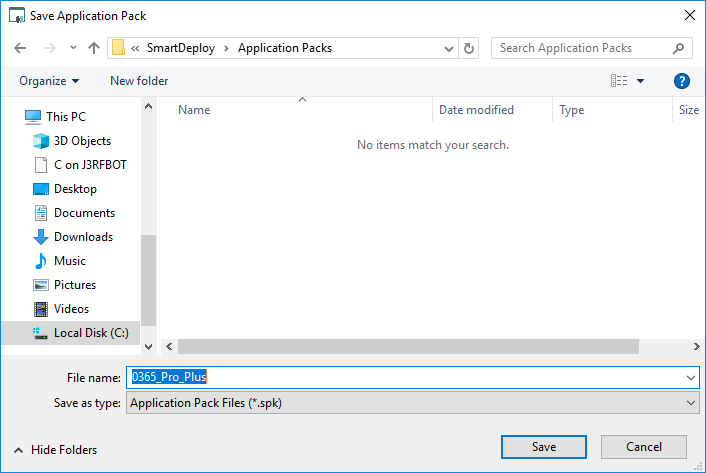
- Specify a name for the Office 365 Application Pack, and then click Save.
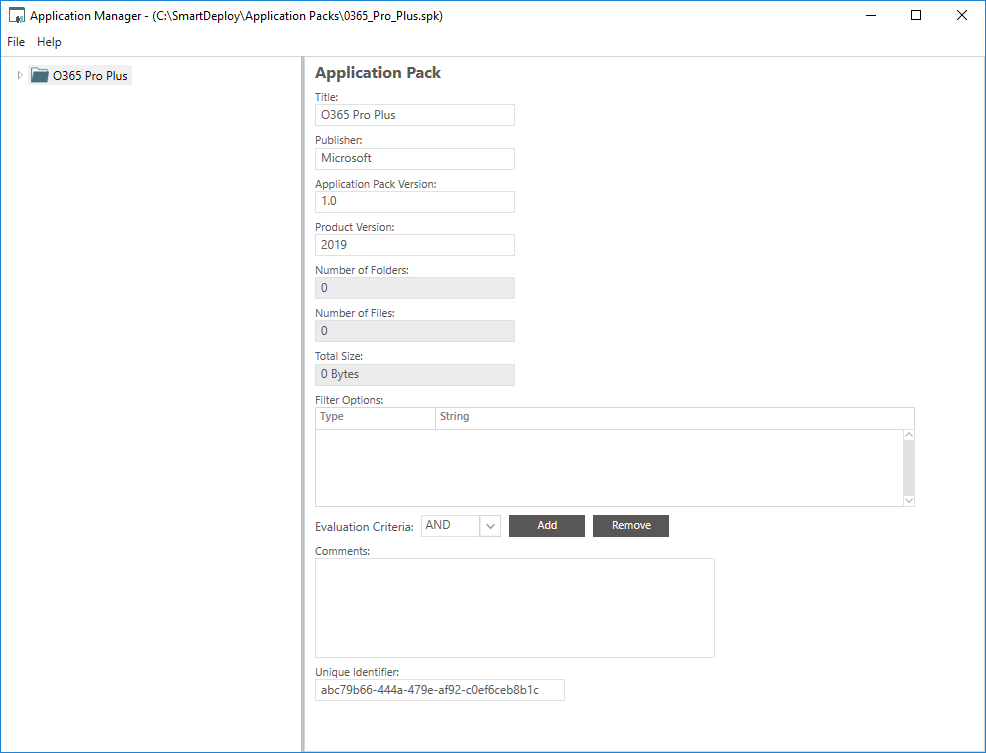
- On the Application Pack page, complete the fields for Title, Publisher, Application Pack Version, and Product Version.
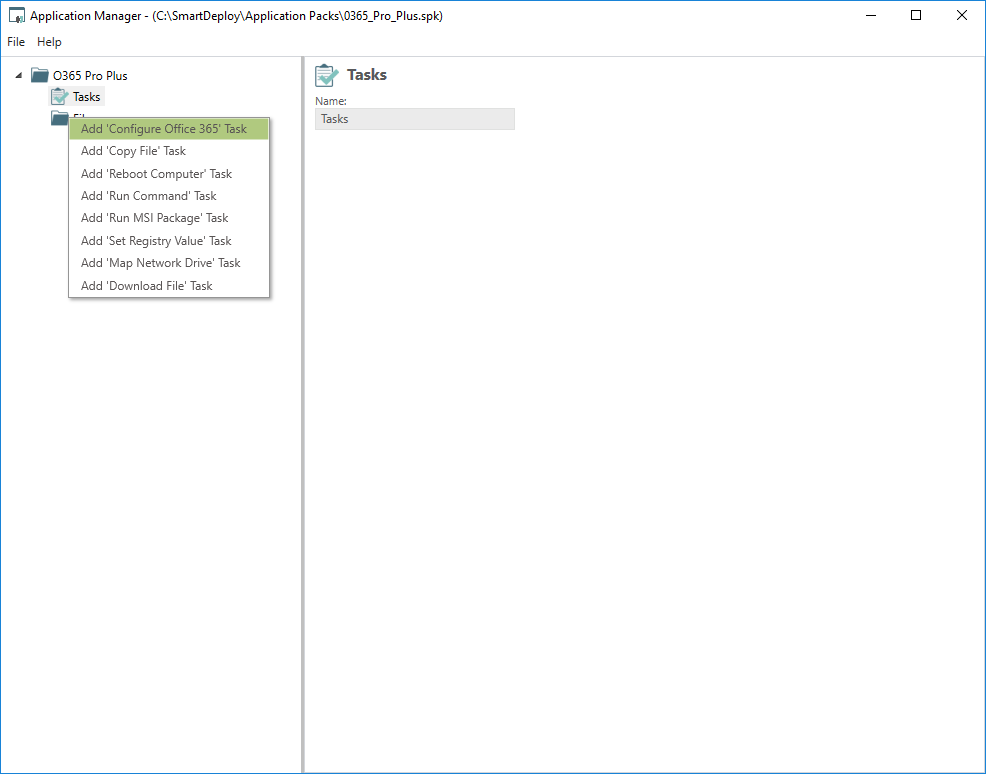
- In the left pane, expand the application folder, right-click Tasks, and then click Add 'Configure Office 365' Task.
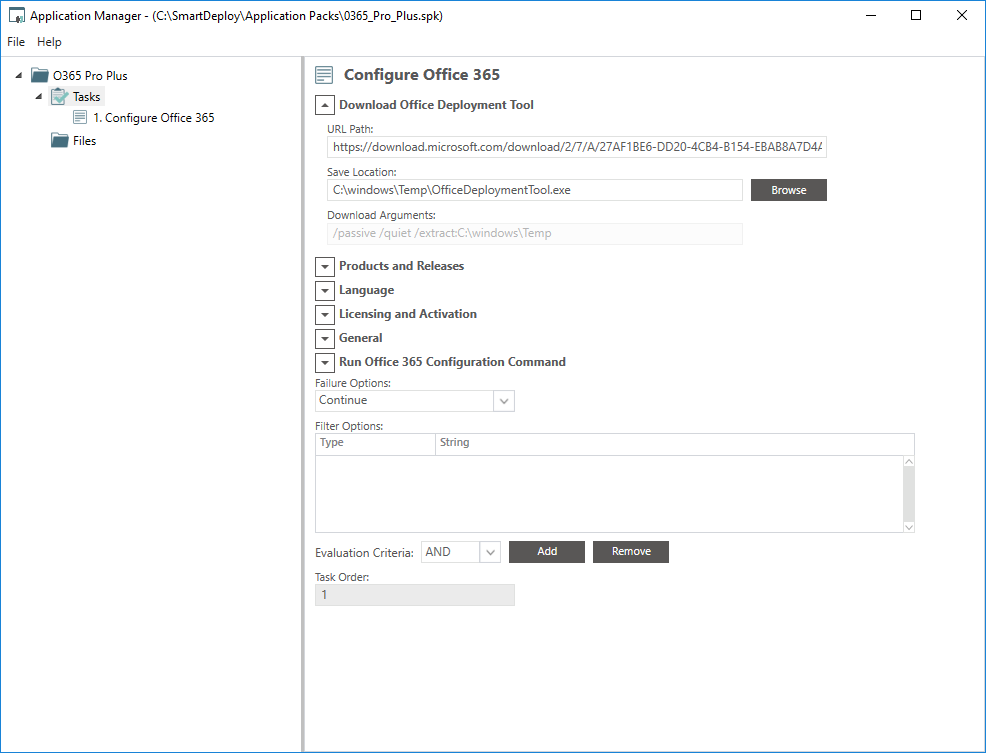
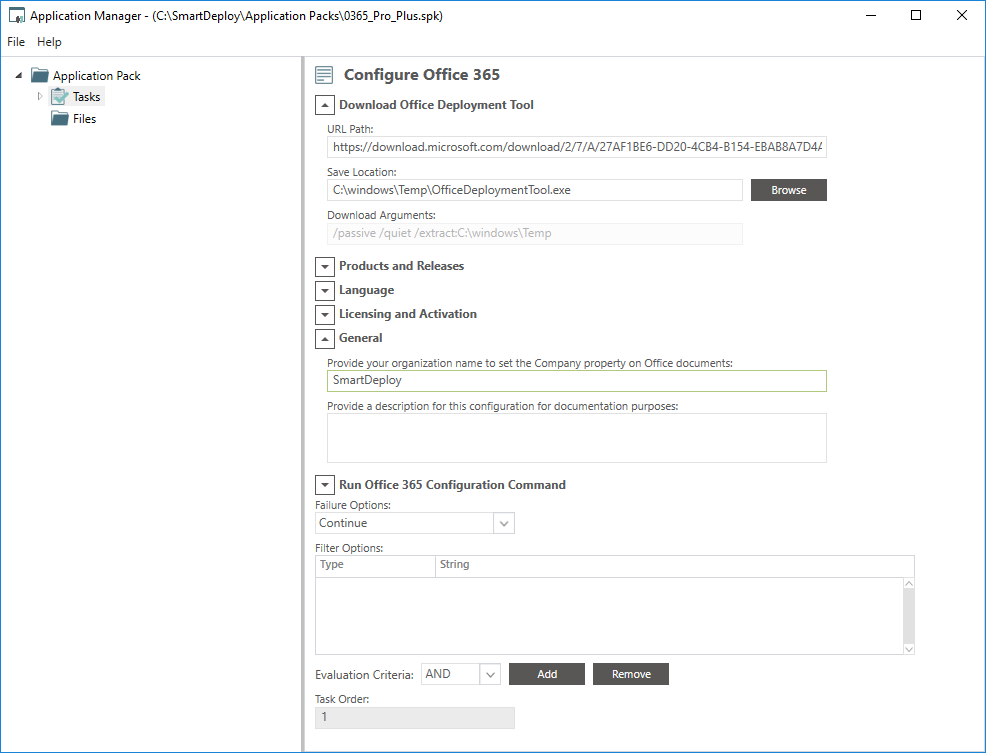
- In the Download Office Deployment Tool section, we recommend that you leave this section as-is. If you have a specific URL path for downloading the tool or if you want to change where it is saved on the endpoint during deployment, you may change it here.
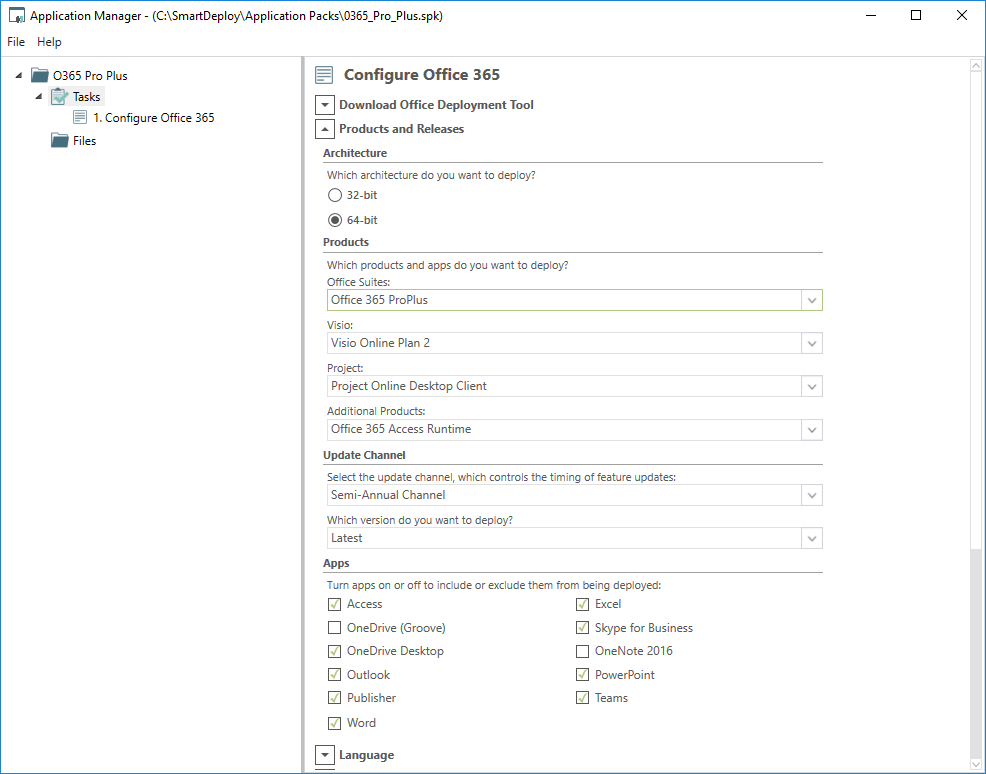
- In the Products and Releasessection:
- Select the desired Architecture that you want installed.
- Select the Office products that you want installed.
- Select the Update Channel that you want to configure for Office 365 when installed.
- Clear the check boxes for any applications that you do not want to be installed on the endpoint.
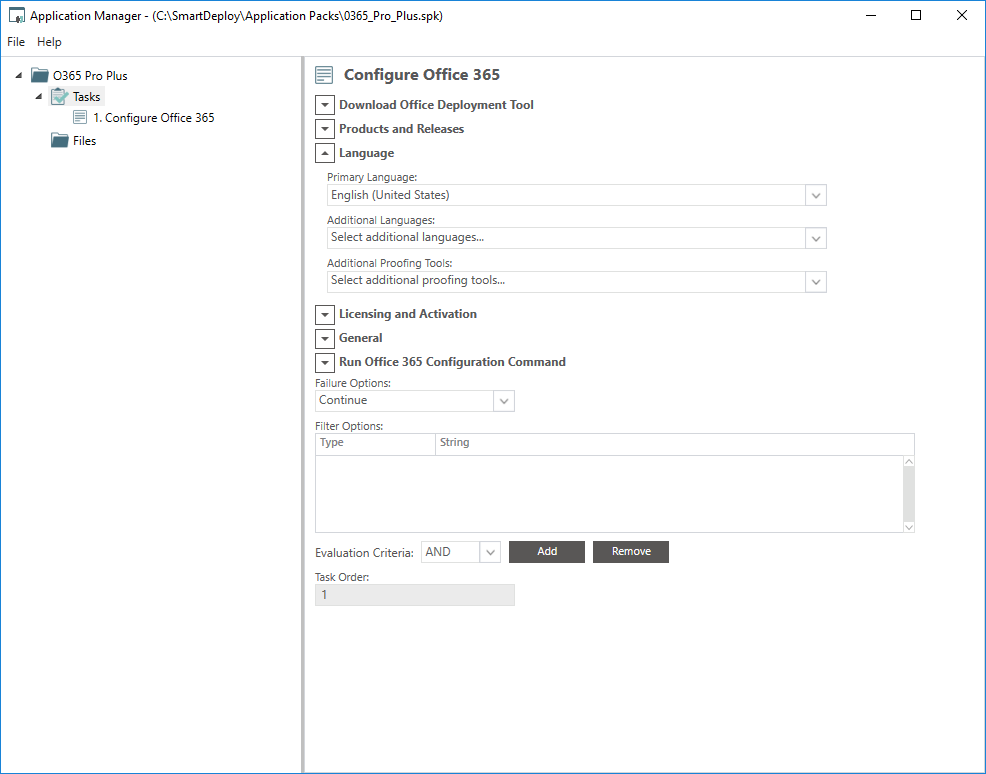
- In the Language section:
- In Primary Language, click the language that you want.
- Specify additional languages that you want installed (if any.)
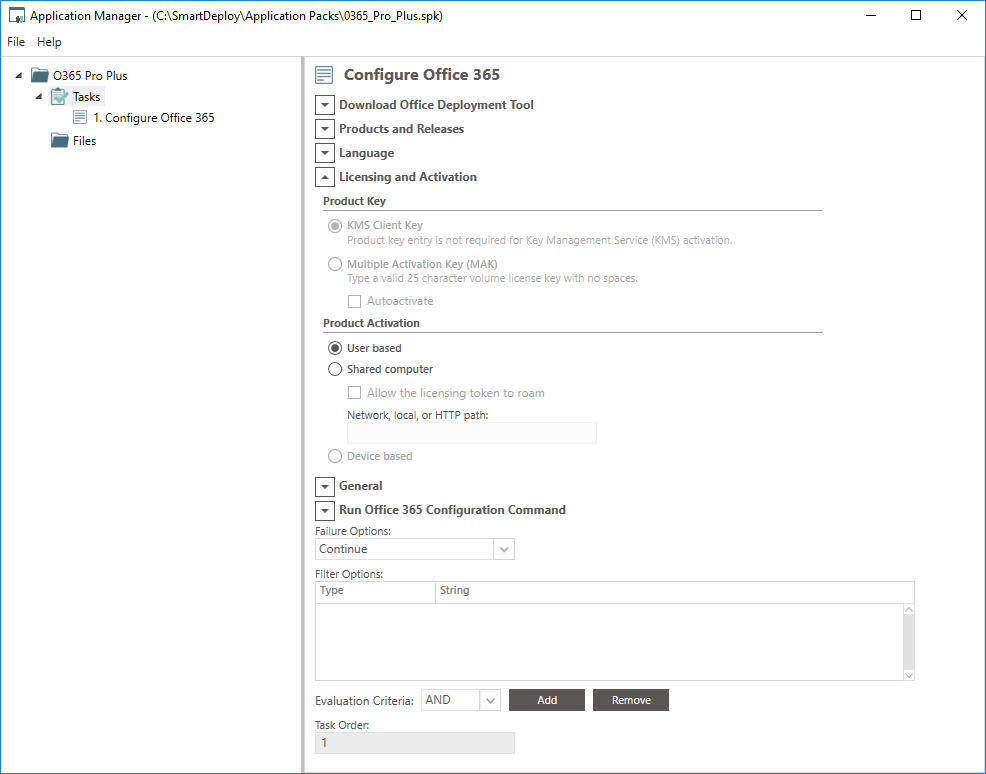
- In the Licensing section, we recommend that you leave this section as-is. If you have a specific licensing configuration requirement, you may set it here.
- In the General section, specify your company name and any other pertinent information.
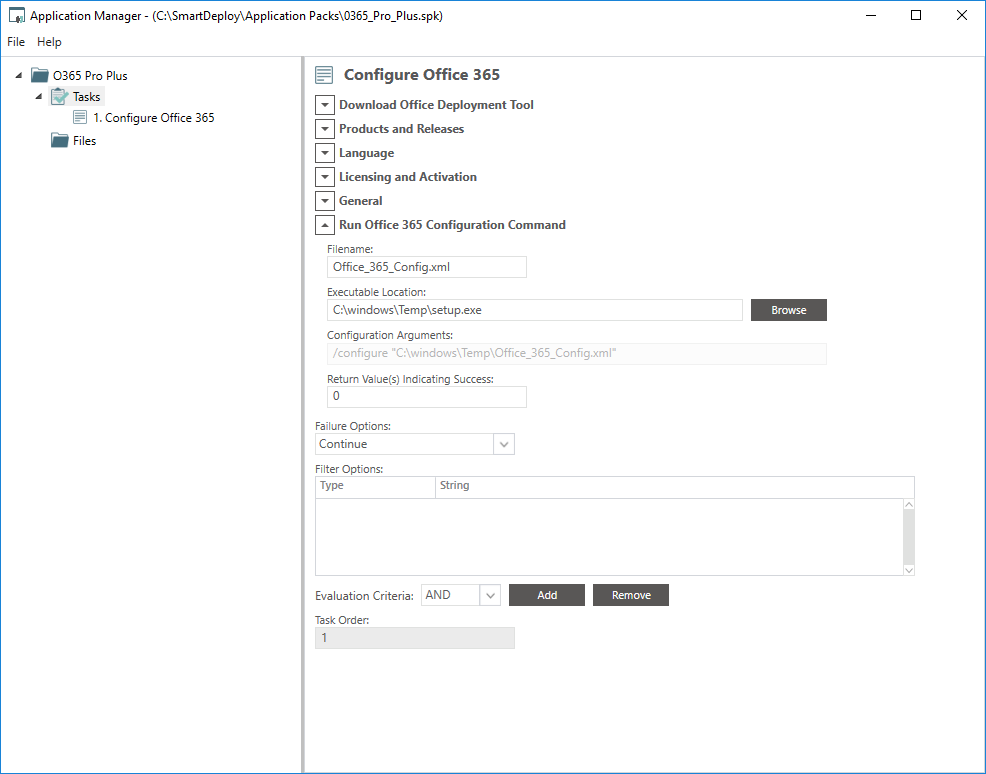
- In the Run Office 365 Configuration Command section, we recommend that you leave this section as-is. The options that you specify will be included in the Office_365_Config.xml file that is generated by SmartDeploy and will be used as part of the unattended installation of Office 365.
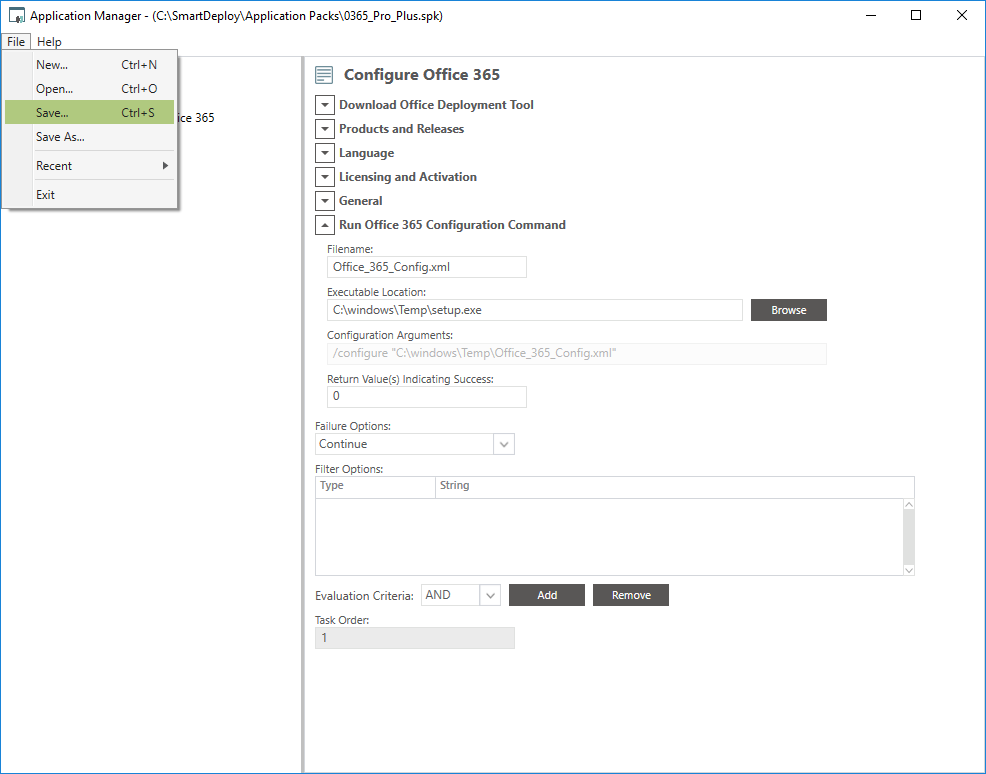
- Click File > Save, and then close the Application Manager.
- You're now ready to deploy Office 365 with your deployments by enabling it in your answer file or independently by using the Computer Management workspace.