

With the Reference Virtual Machine (VM) ready and shut down, you can use the Capture Wizard to create an image from the VM's virtual hard disk file.
Reminder: As a best practice, we recommend that you disable antivirus or real-time protection software that may be running on the SmartDeploy Console Host for the duration of the capture. The capture process can sometimes be incorrectly flagged as malicious activity, which prevents a successful capture.
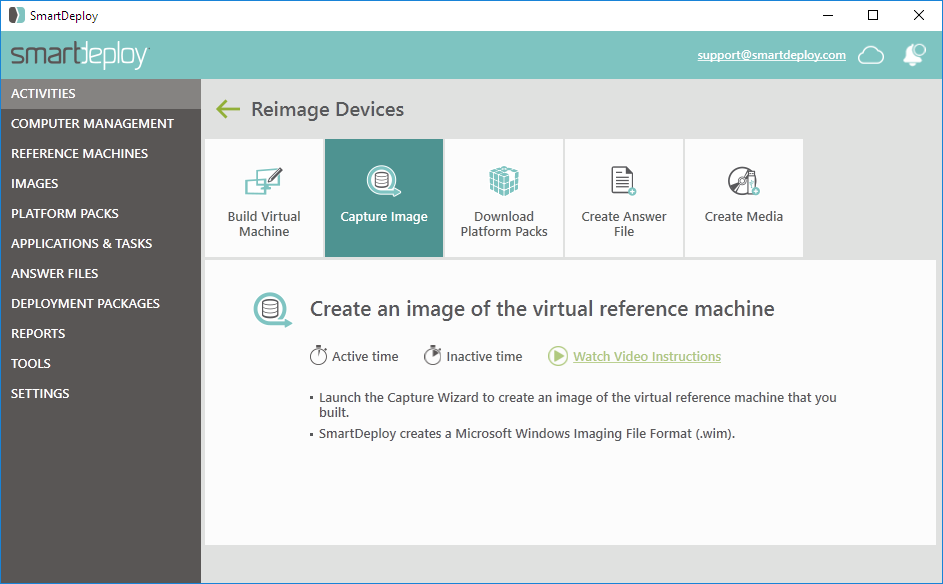
- In the Activities workspace of the SmartDeploy Console, click Reimage Devices, and then click Capture Image.
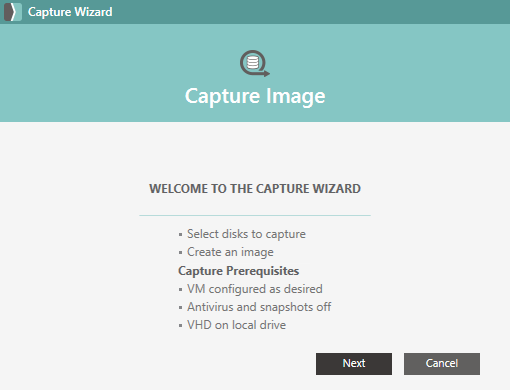
- On the Welcome to the Capture Wizard page, click Next.
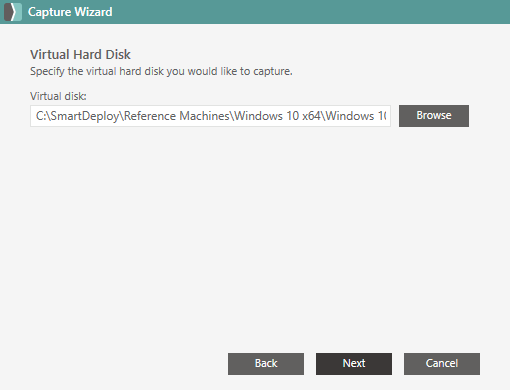
- On the Virtual Hard Disk page, click Browse to browse to and select the virtual hard disk of your Reference VM, click Open, and then click Next.
- For most deployments, you can leave System Reserved and Local Disk (C:) selected, and then click Next.
Note: If you intend to use this image with Windows Deployment Services, select the For use with Windows Deployment Services (WDS) check box. For more information see our integration with Windows Deployment Services article.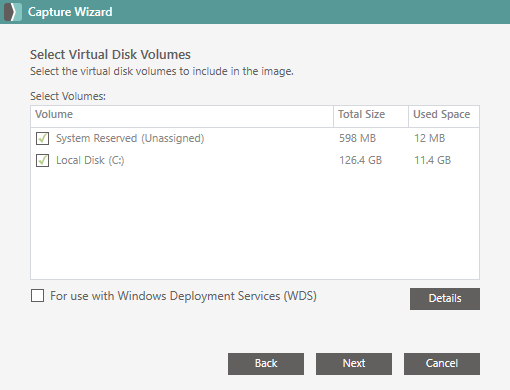
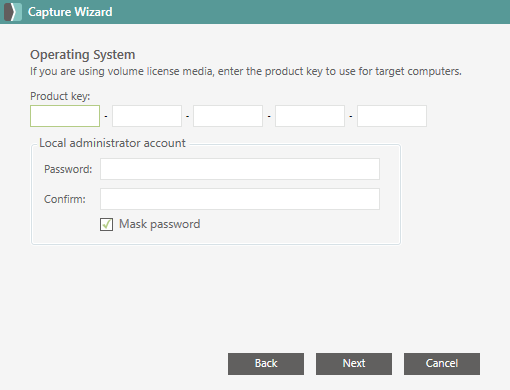
- Optional: Provide the Windows product key that matches the version of Windows that is installed on your Reference VM.
Note: You can leave the product key blank and instead provide it in your Answer File. Or, you can deploy your image without a product key. - Optional: You can also specify a new local administrator account password if you want to have a different password on the deployed endpoint.
- When you're ready to advance to the next page, click Next.
- On the Image Type page, select Standard image (recommended) or Differencing image, and then click Next.
Note: A standard image contains all the files that are needed for the target device. A differencing image contains only the files that have been changed between a standard image and an updated VM. If you create a differencing image, you'll need to browse to the location of the previous version of the image.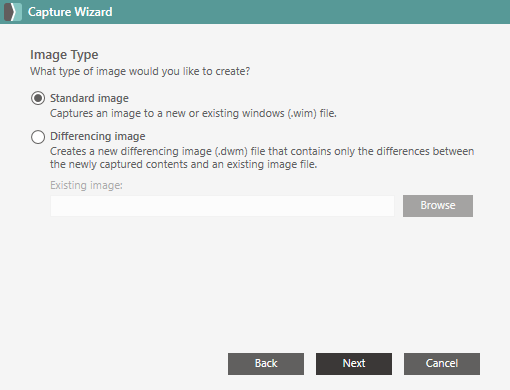
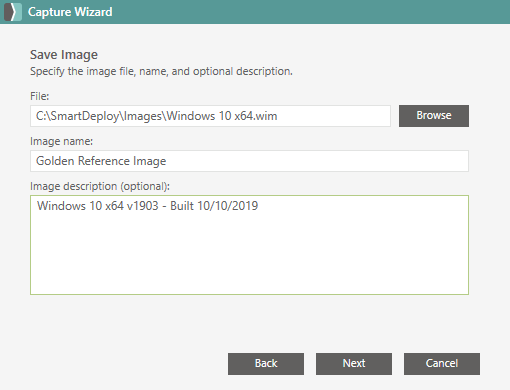
- On the Save Image page, click Browse, chose a folder and file name to save the image file as, and then click Save.
Note: You can save more than one image in a single WIM file by selecting an existing WIM file. If you save more than one image in a WIM file, all the duplicate files are single instance stored. Therefore, a single WIM file that contains two images will likely require less disk space than the same two images saved as two WIM files. - In Image name, type a long-form name for your image, for example, Golden Reference Image.
- In Image description (optional), add additional notes as needed, and then click Next.
- Click Finish to capture your image.
Note: The wizard may take several minutes to capture the image.
- When the capture process has finished, click OK to close the Capture Wizard.
Next: Download a Platform Pack