Rename a Client Computer
Follow this step-by-step guide to learn how to rename computers in the Computer Management workspace of the SmartDeploy Console.
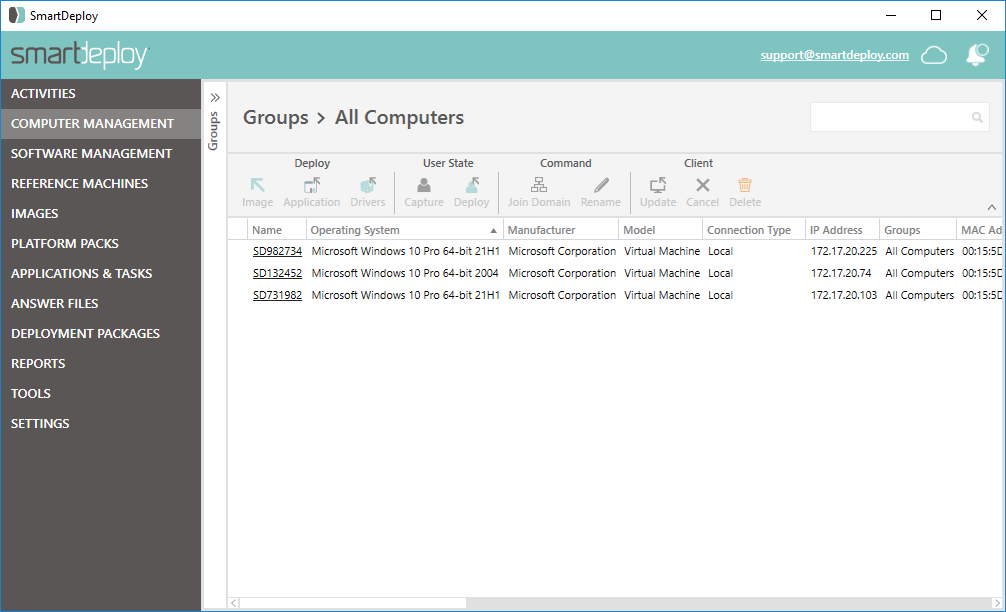
- In the Computer Management workspace, select the target client computer and then click Command | Rename.
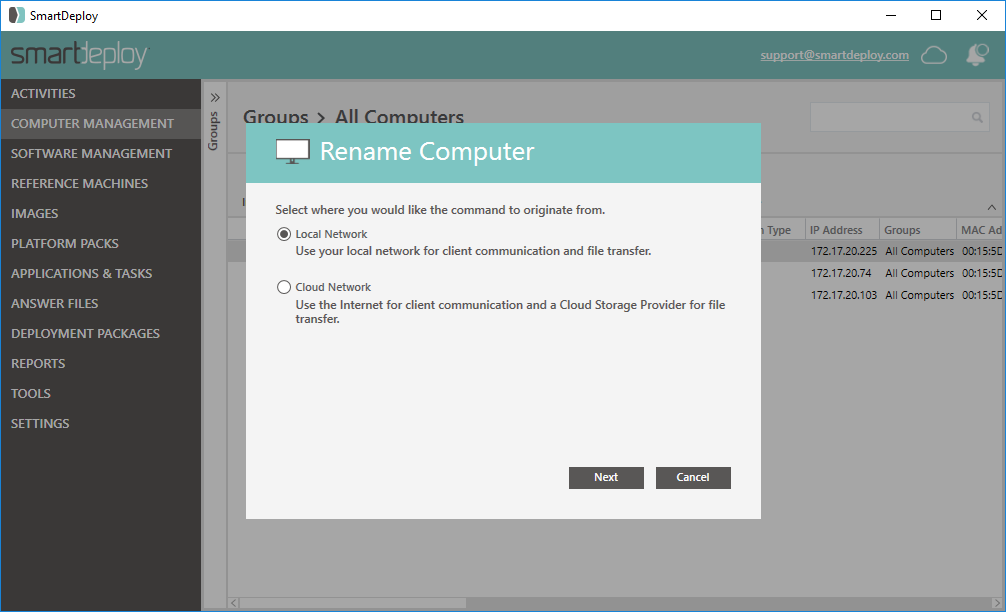
- Select Local Network or Cloud Network for the network to use and click Next.
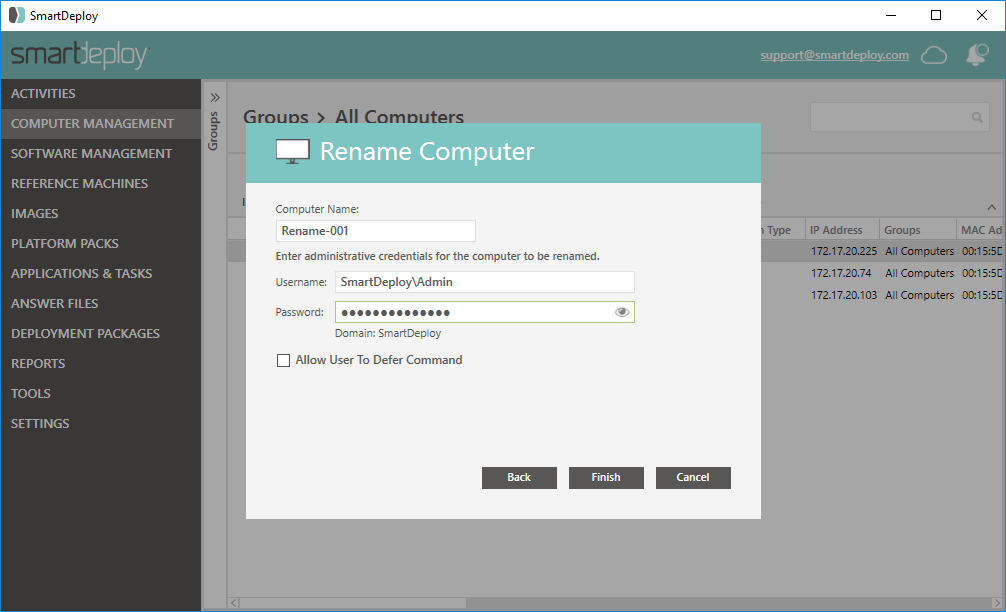
- In the Rename Computer window, complete the following:
- In the Computer Name box, enter a new computer name to apply to this computer (maximum 15 characters).
- In the Username box, enter the username for a user with local administrator permissions on this computer.
- In the Password box, enter the password.
- Optional: Check the Allow User To Defer Command checkbox to give the user the opportunity to delay the Rename Computer action. If you do not check this box, this command will cause an immediate reboot of the target computer.
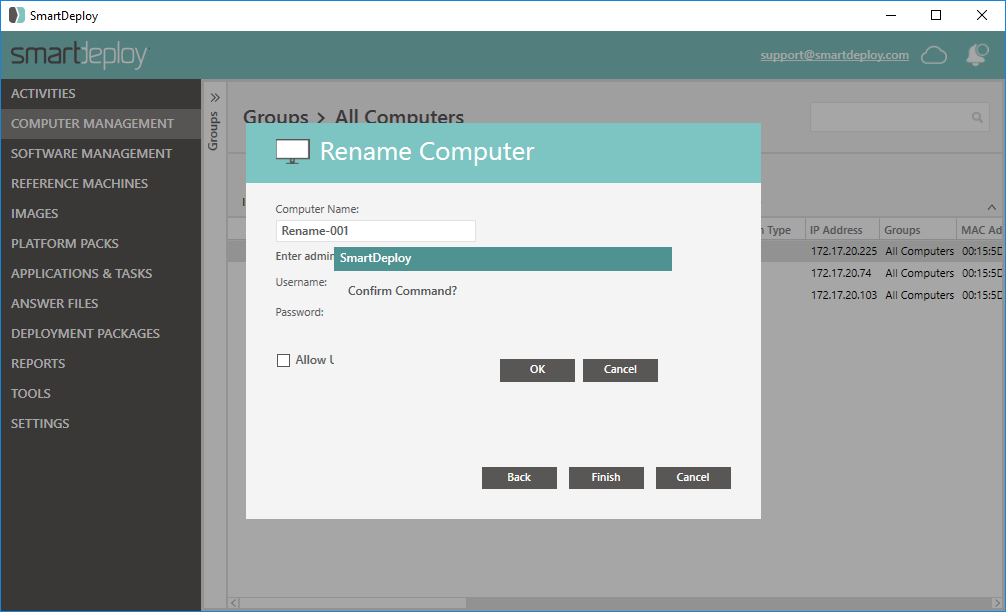
- Click OK to display confirmation, then click OK to confirm.
Note: In the All Computers workspace, hover your mouse cursor over the icon next to the computer to verify the status of the Rename Computer command. You can also verify this status in Message History.
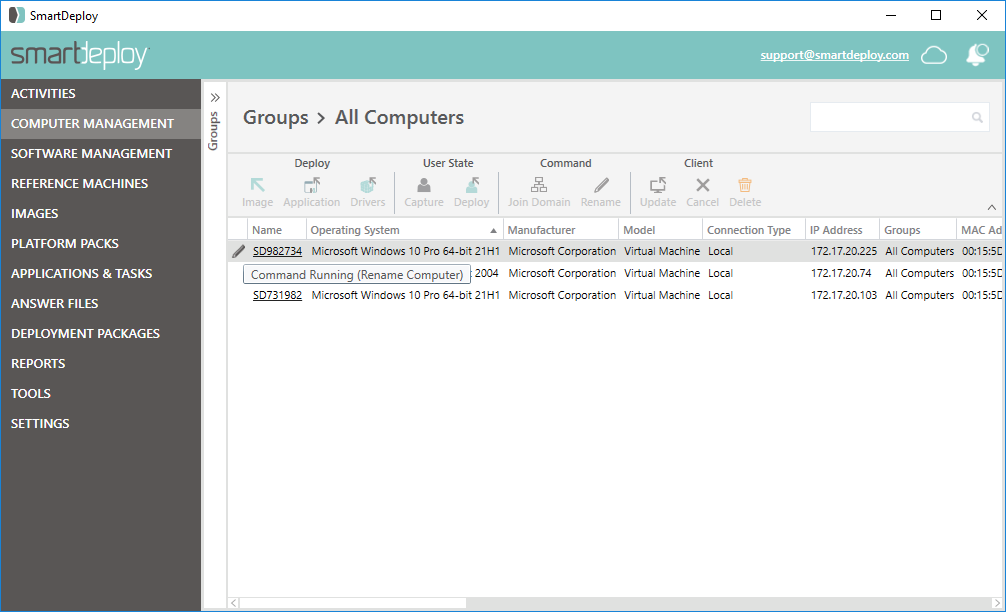
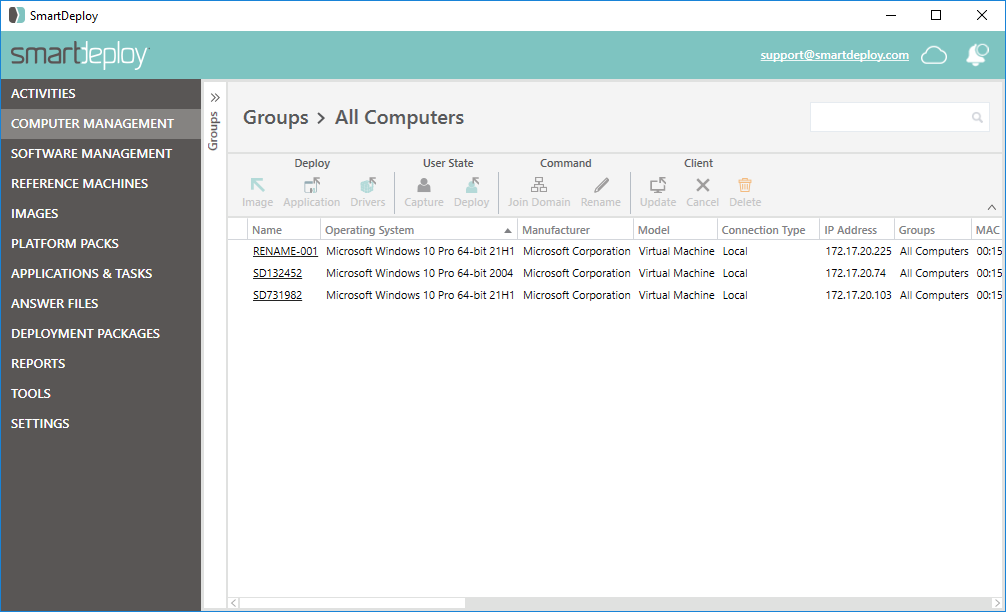
After the command completes, the computer name will update in Computer Management within a few minutes.
Glenn Bristol
Was this article helpful?